Intro
Adding Lights

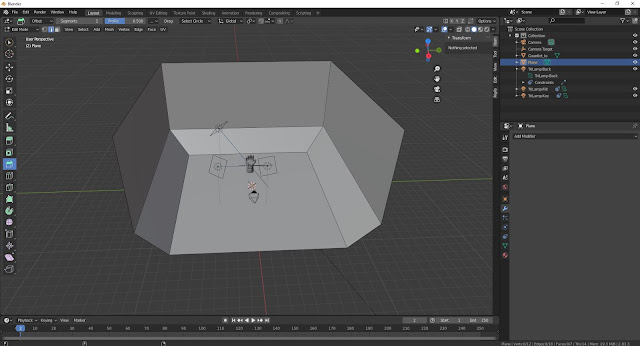
When opening up blender for the first time you will be
greeted by the default cube, a point light, and a camera already in scene. The
first thing I did here was add lights to the scene. To do this go to Add>Light
and select the type of light you are adding to the scene. Blender has a
built-in plug in that must be enabled that helps you quickly add a 3 point
light setup.

After clicking on them 3 lights will be added to your scene that will track whatever object you have selected at the time. When you click on one of the lights you can go to the menu on the left and click on the lightbulb. This will allow you to edit the settings of this light including color and intensity.

Above the light settings you will find the constraint options. Here you can change what object these lights are tracking. I set it up so that the lights will follow an empty cube object that will not show up in renders.
Camera

While you can also orient your camera manually using
translation and rotation you can also bind your camera to the viewport and
pilot it. To look through the perspective of your camera hit 0 (zero) on your number pad. And to
lock it in to the viewport go to the side panel (it may be hidden on launch and
can be opened by dragging the arrow on the top right corner of the 3D view) and
then going to View while the camera is selected and clicking Lock Camera to Viewport. To exit the
camera view simply hit 0 once again. To quickly make your current view the same
as the camera hit CTRL + ALT + 0. The
camera will then be moved to the view you were in.
Adding Objects to Scene
This is pretty simple. Go to File>Import>FBX and find your file
Creating an infinity Wall

To crease to edges, select the edges you want to crease in
edit mode and then open up the Item tab
on the side and use the Mean Crease
slider.

Render Settings
To make sure that you are using the Eevee renderer find the render properties tab in the properties
panel. There you will find the renderer the blender is currently using. The
three options are Eevee which is the default, cycles, and workbench. Below the
render properties tab, you will find the output
properties tab, which will allow you to change your resolution and frames
for animation.


Setting up Materials

At this point you should be using the Eevee preview mode to set up your lighting and see what your scene will look like when you do you render. You can find this view mode in the top right of the 3D viewport and clicking on the circle on the furthest right. You will see your model has no texture on it and to set it up you have to open the shading tab on top.


Setting up an HDRI
To set up an HDRI in your scene
you need to go to the shader tab again and change it from object space to world
space in the top right of the material nodes. To find an HDRI you can check https://hdrihaven.com/

To hook it up, go to Add>Texture>Environment Texture and hit open on the node. This will open up the file browser then you pick the hdri you downloaded. Hook up the HDRI to the background and the HDRI will show up in the scene. When you highlight the HDRI and hit CTRL+T you will get extra nodes which will give you more control over it.


Render your image

To render your scene that you’ve set up you can click on render>render image on the top tab or by hitting F12. When the image is done rendering you can go to Image>Save As and then place your final render wherever you want.


